
Last updated October 16, 2026
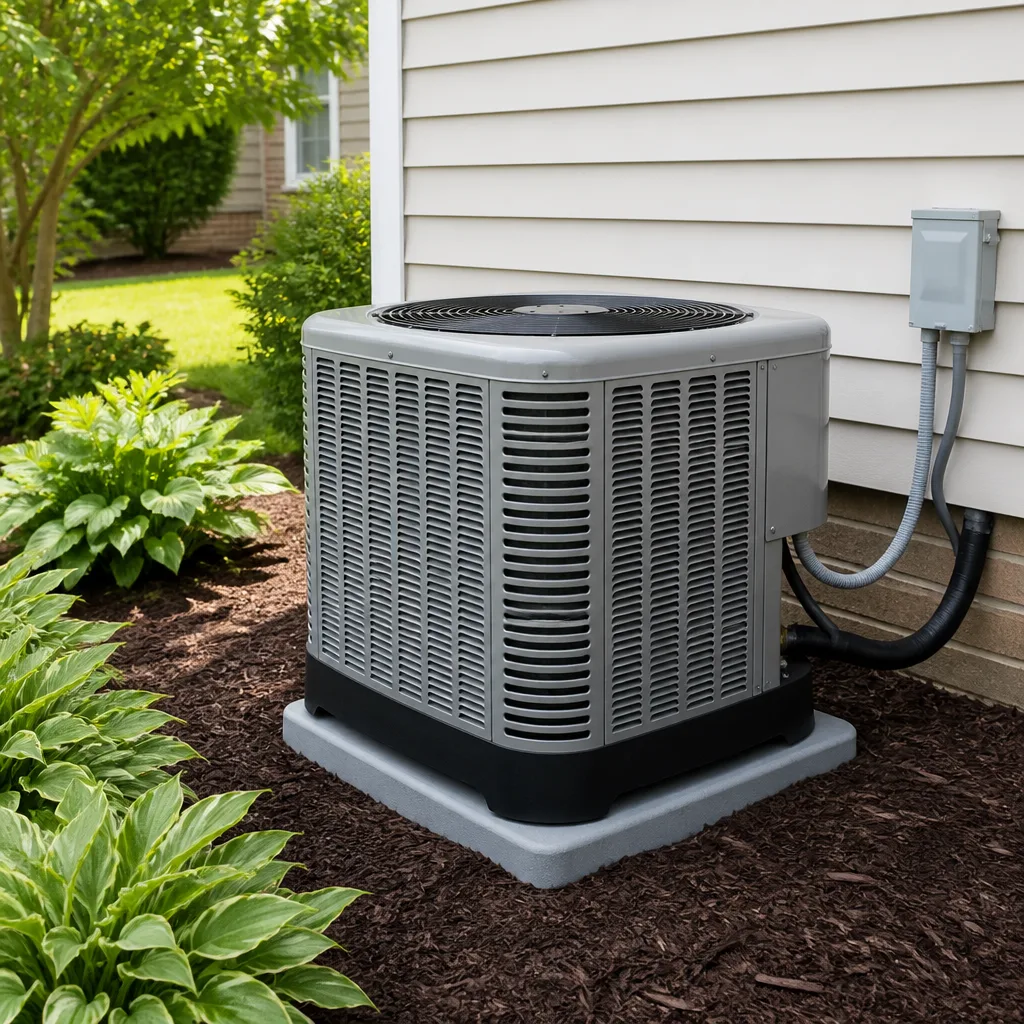 AC repair
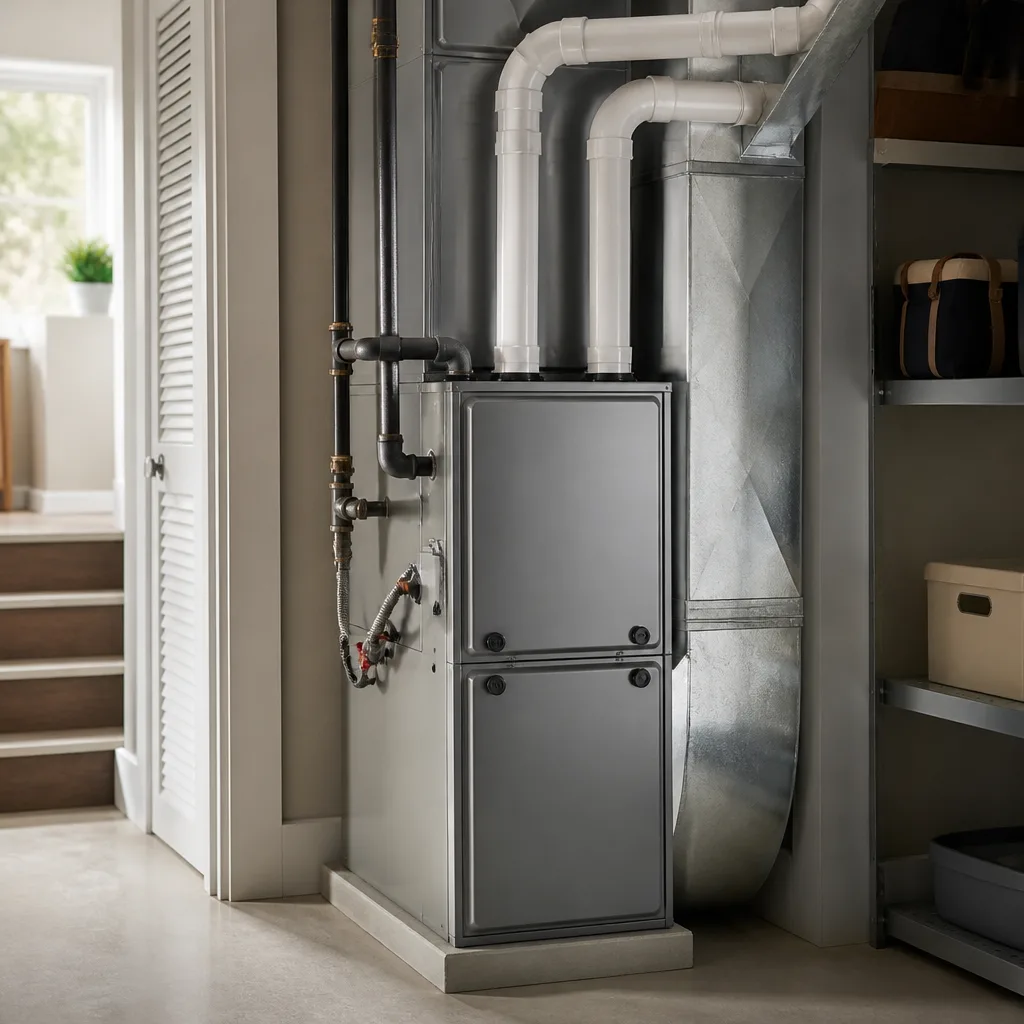 Furnace & heating
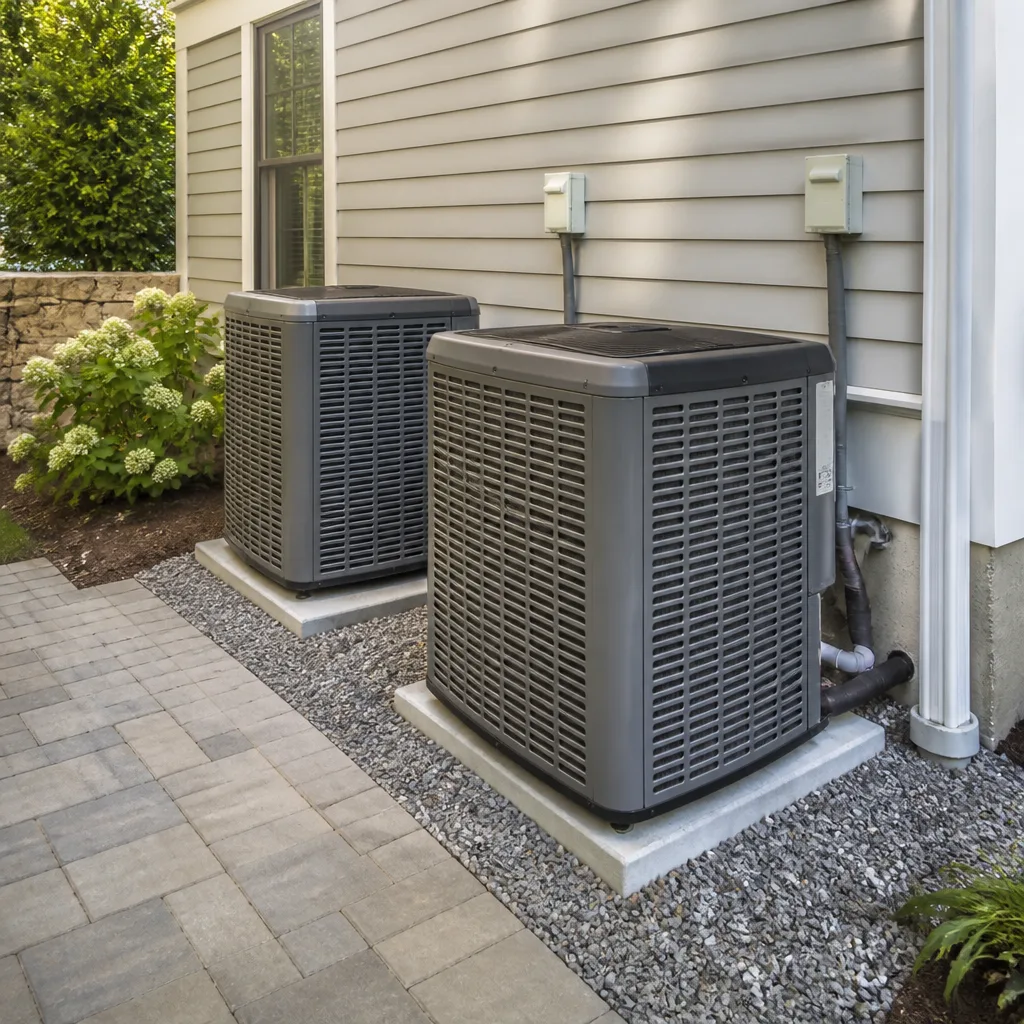 Heat pumps
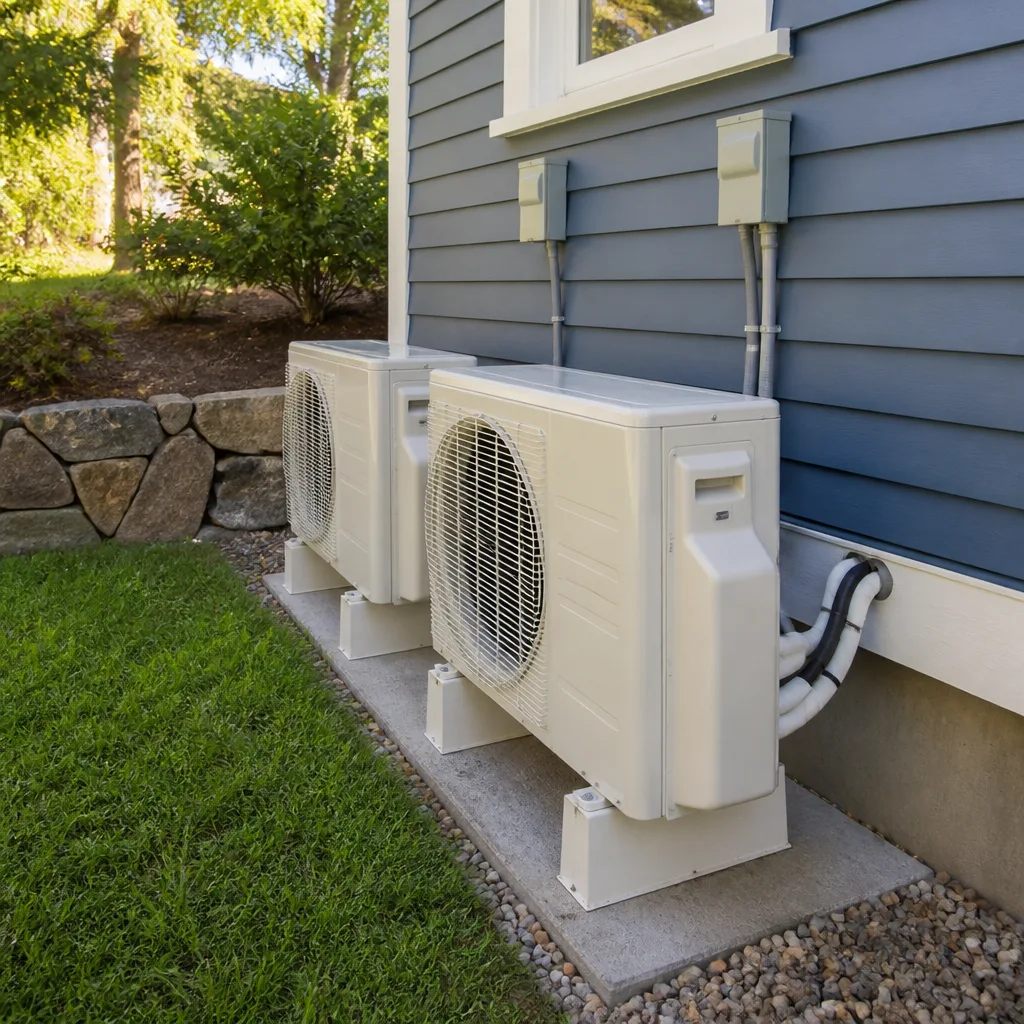 Ductless mini splits
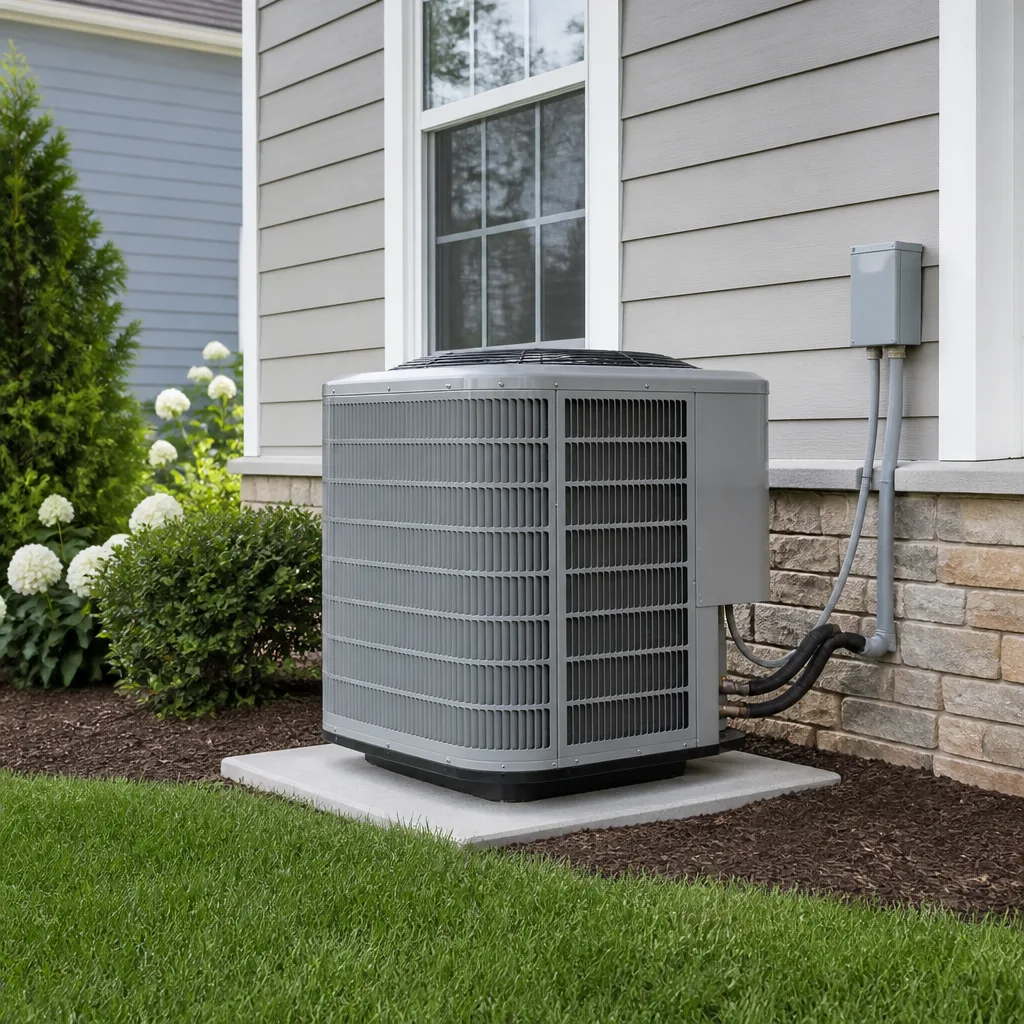 Carrier
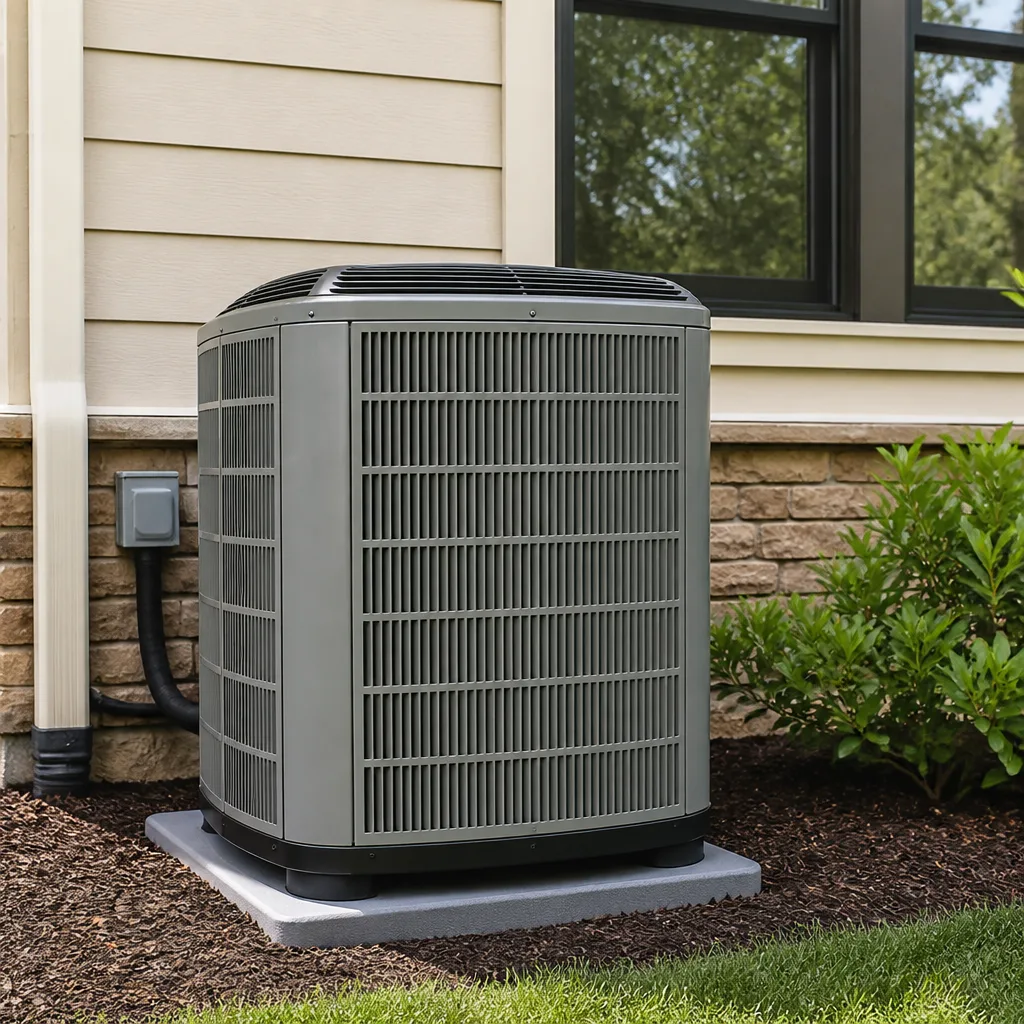 Trane
Trane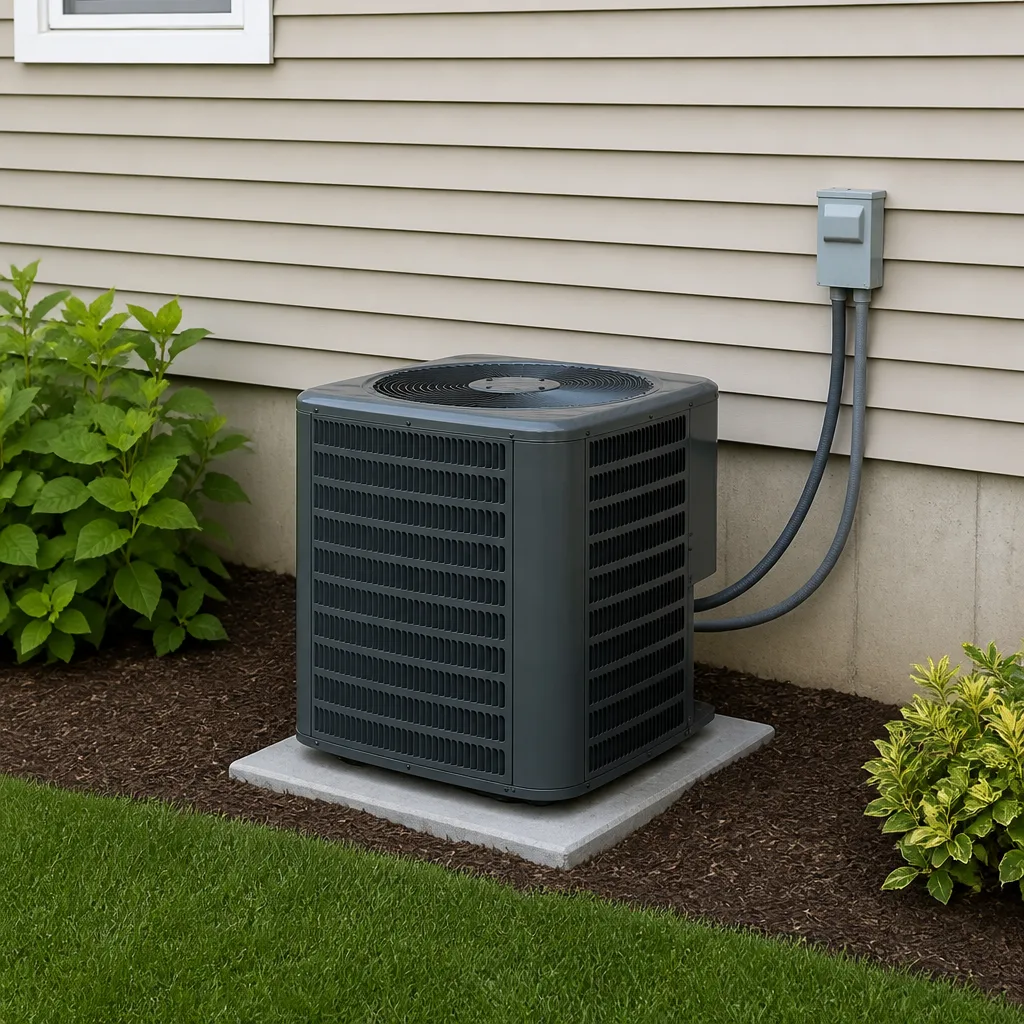 Goodman
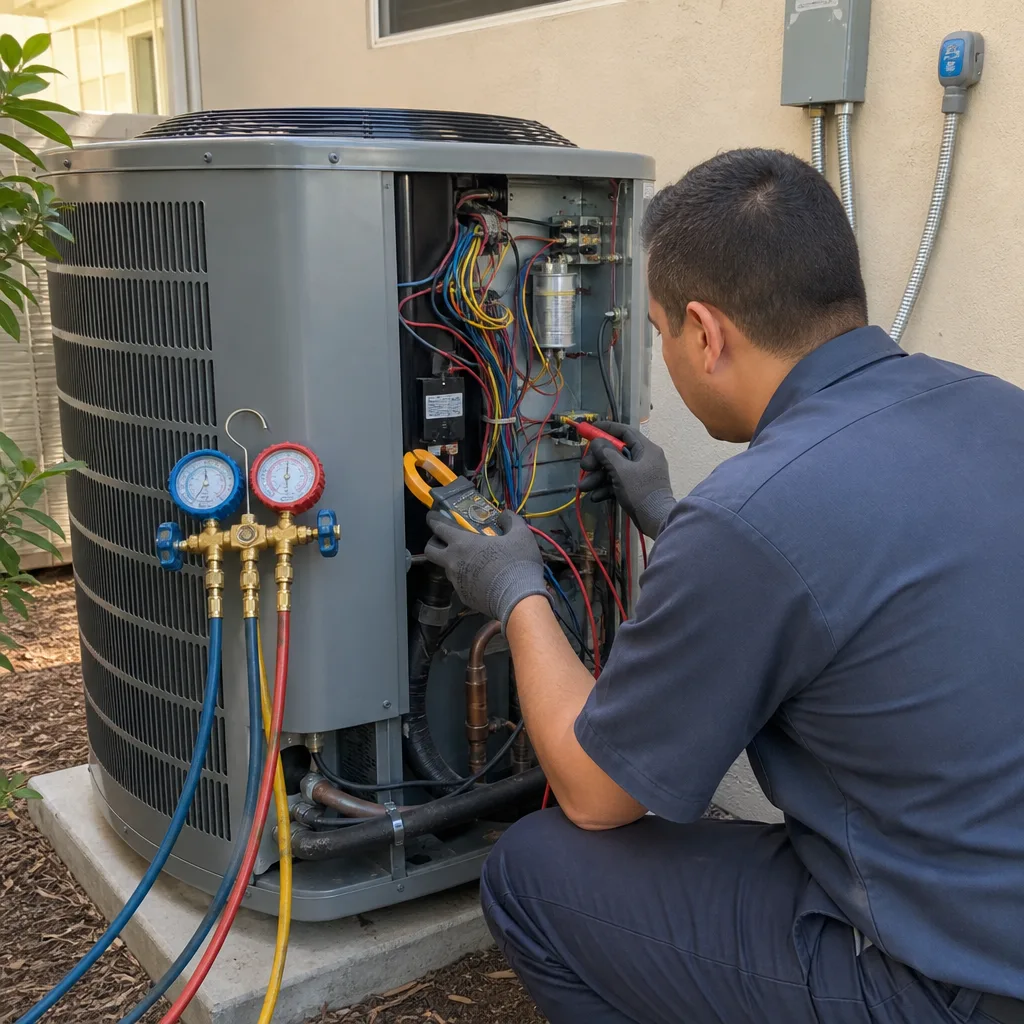
Seasonal tune-up and full diagnostic on your Carrier, Trane, or Goodman system - readings shown to you before any repair is proposed
Diagnosis first, numbers second - you approve the repair price before a single part goes in.
Get your free estimateAC Repair Maintenance Checklist for San Jose Homeowners
Here’s something most homeowners in San Jose don’t realize until water is dripping through the ceiling: a clogged condensate drain line is the single most common preventable AC service call in the South Bay, and it takes about four minutes to clear with a wet-vac once a season. The algae that forms in that drain line thrives during our short but intense summer humidity spikes, not during the long dry heat Phoenix gets. This guide walks through the exact maintenance tasks that actually matter for Bay Area systems, the ones most national checklists skip, and the documentation you should demand after every AC Repair service visit.
Styles & brands we work with
Quick Answer
An AC maintenance checklist for San Jose homeowners should follow the region’s actual climate: check and clear the condensate drain line every June and September, replace or clean filters every 60 to 90 days during peak use, clear two feet of space around the outdoor unit monthly, and schedule a professional inspection every spring. The most important San Jose specific risk is low-load short-cycling from our mild summers, which wears out compressors faster than continuous operation in hotter climates.
Table of Contents
- A Month-by-Month Maintenance Calendar for San Jose’s Actual Seasons
- Five Checks You Can Do Safely Yourself
- Six Checks That Require a Licensed Technician
- Why Mild Bay Area Summers Accelerate Compressor Wear
- How to Read Your System’s Age and Model Number
- What to Confirm in Writing After Every Maintenance Visit
- Repair or Replace: The Math Conversation Coming in 1-3 Years
- Common Mistakes to Avoid
- When to Call a Professional
- Frequently Asked Questions
- The Bottom Line
A Month-by-Month Maintenance Calendar for San Jose’s Actual Seasons
San Jose doesn’t have four equal seasons, and pretending it does leads to bad maintenance timing. We get a cool wet winter, a short spring, a long dry summer with occasional sharp humidity spikes, and a warm fall that lingers into November. Here’s the calendar we recommend to homeowners across the city, from Willow Glen to Evergreen to Almaden Valley.
January through March: Low-Use Period
Your AC is mostly idle, but that doesn’t mean ignore it.
- Check the outdoor unit for storm debris. Winter winds carry leaves, twigs, and sometimes plastic bags against the condensing coil. Clear anything within two feet.
- Run the system for 10 minutes on a warm afternoon. This circulates oil through the compressor and catches any issues before summer. A January test run is much better than an August discovery.
- Inspect visible ductwork in the attic or crawlspace. Cool, damp winters can loosen tape and seams. Look for gaps where insulation has pulled away.
April and May: Pre-Season Prep
This is the single most important window. A system checked in April is ready when the first heat spike hits in May or June, and you avoid the service rush that starts the first week temperatures climb past 85.
- Schedule your annual professional inspection. Technicians are booking fast by mid-May. Companies with live-person phone coverage, like Cold Harbour Heating and Air San Jose home, take calls 24 hours a day, but the inspection itself should happen before the heat arrives.
- Replace the air filter. Start the season with a clean filter, not last year’s dust load.
- Clear the condensate drain line. This is the task that prevents the ceiling leak. More on this below.
- Test the thermostat. Switch it to cool mode and verify the system kicks on within a minute.
June through August: Peak Load and Humidity Spikes
San Jose’s summer humidity is mild compared to Houston, but it’s enough to grow algae in condensate lines and strain systems that sit unused for weeks between heat waves.
- Check the drain line again in mid-July. The first sustained warm humid stretch is when clogs develop.
- Inspect the filter monthly. If you run the system daily, 60 days is the outer limit for most households, 30 if you have pets or live near construction.
- Listen for short-cycling. If the compressor kicks on and off in under five minutes, something is wrong. More on this below.
- Keep the outdoor unit clear. Summer landscaping grows fast. Trim plants back to maintain the two-foot clearance.
September and October: Post-Season Drain Check
The shoulder season is when algae and debris that accumulated over summer hardens into a clog. Many homeowners are surprised by a late-September leak, long after the worst heat has passed.
- Clear the drain line a second time. This catches the buildup that formed during peak use.
- Replace the filter again. End the season as clean as you started it.
- Cover or shelter the outdoor unit if you’re in an area with heavy leaf drop. Almaden and the eastern foothills see more oak and sycamore debris than downtown.
November and December: Light Touch
No heavy work needed. Keep the area around the unit clear, and run the system once on a warm day if you think of it. If you didn’t schedule spring maintenance, November is a calmer time to book it than spring, though you’ll want it done before the holidays.
Five Checks You Can Do Safely Yourself
Some maintenance tasks are genuinely safe for a homeowner with basic tools and common sense. Others are not. Here’s where the line is, and why our DIY vs Professional HVAC: The San Jose Homeowner’s Decision Guide matters.
1. Air Filter Replacement
This is the easiest, highest-impact task on any AC maintenance checklist for San Jose homeowners. A dirty filter restricts airflow, which makes the system work harder, wastes energy, and can freeze the evaporator coil. Find the filter housing, usually in a slot near the return grille or at the air handler, and slide in a new filter with the arrow pointing toward the blower. Most households use basic 1-inch filters changed every 60 to 90 days. If you have allergies, step up to a MERV 11 or 13, but check that your system can handle the increased resistance. A good rule in San Jose: check the filter on the first of the month, May through September.
2. Condensate Drain Line Clearing
This is the task that saves ceilings. Your AC removes moisture from the air as it cools. That water drains through a PVC or copper line, usually into a sink, floor drain, or outside. Over weeks of use, algae, dust, and sometimes small insects build up inside that line. When it clogs, water backs up and overflows the drain pan, often onto drywall, insulation, or the flooring below.
The safe homeowner fix is a wet-vac. Find the drain line access point, usually a small tee fitting or open pipe near the indoor unit. Attach the wet-vac hose, seal the connection with a rag or your hand, and run the vacuum for 30 to 60 seconds. That’s usually all it takes. If you can’t find the access point, or if the line is still clogged afterward, call a professional before running the AC again. Do not pour bleach or Drano down the line. Both can damage PVC and the pan below.
3. Thermostat Calibration Check
Your thermostat is the brain of the system, and a drift of even two or three degrees changes both comfort and energy bills. Check it against a reliable independent thermometer placed nearby for an hour. If the readings don’t match, most digital thermostats have a calibration offset in the settings menu. If yours doesn’t, or if the drift is more than two degrees, the thermostat may need replacement. In our experience across San Jose homes, older mechanical thermostats with mercury bulbs are the most likely to drift. Smart thermostats fail less often but can have software issues worth a reset.
4. Outdoor Unit Clearance
The condensing unit outside needs airflow. Coils clogged with cottonwood fluff, leaves, grass clippings, or pet hair can’t reject heat properly, which raises head pressure, shortens compressor life, and boosts energy use. Check the coil surface once a month during spring and summer. To clean it safely: kill power at the disconnect box near the unit, gently hose the coil from the inside out using a garden spray nozzle on low pressure, and remove loose debris by hand first. Then trim vegetation to maintain at least two feet of clearance on all sides. Never use a pressure washer, which bends the delicate fins and permanently reduces airflow.
5. Register Airflow Test
Walk through the house and hold your hand near each supply vent. Airflow should be consistent room to room and noticeably cooler than room temperature by 15 to 20 degrees. A weak or warm register points to a duct problem, a damper that’s closed, or a low refrigerant condition. Check that no furniture or rugs block return grilles. This is a diagnostic check more than a repair, but catching an airflow imbalance early is worth doing. If one room is consistently warmer, you may have a duct leak that no amount of thermostat lowering will fix.
Six Checks That Require a Licensed Technician
Some tasks are not DIY, and the reasons are safety and liability, not convenience.
1. Refrigerant Level and Leak Testing
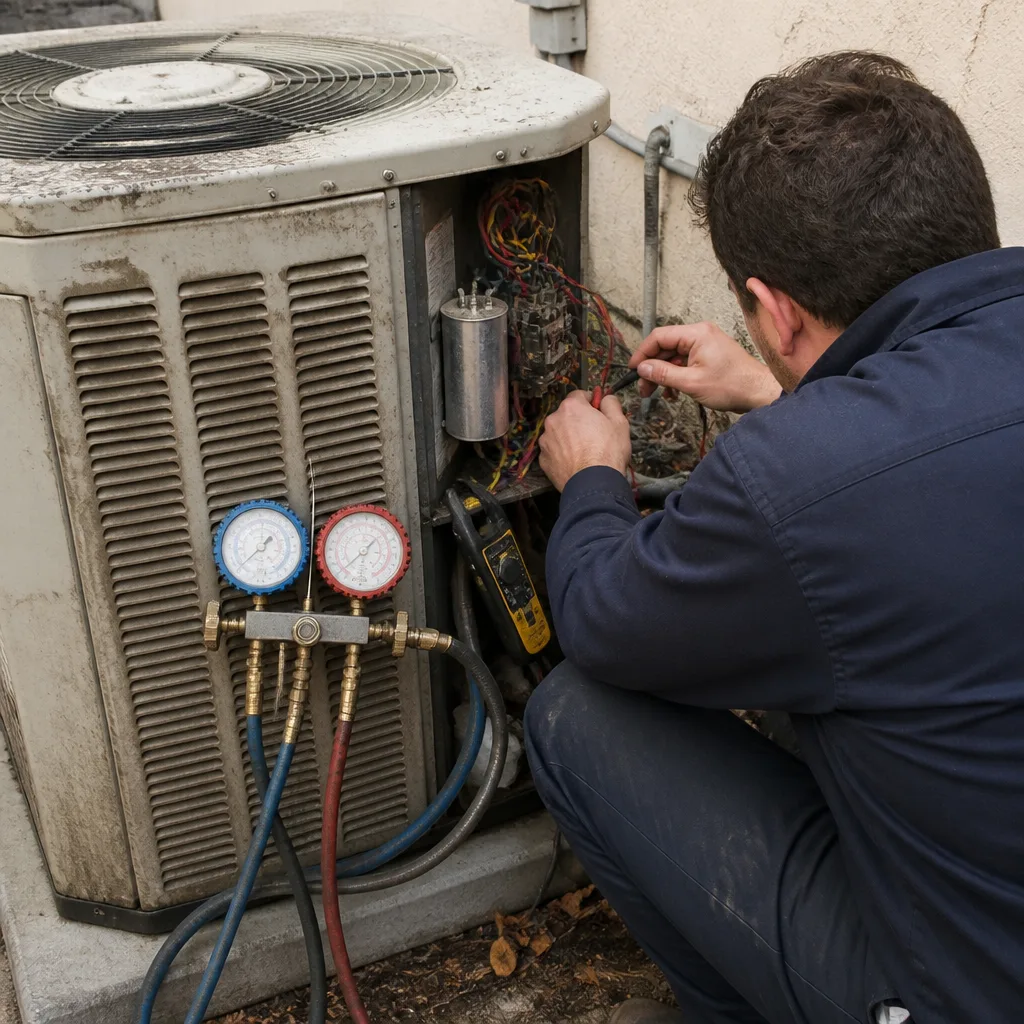
Low refrigerant means there’s a leak. Adding coolant without finding and fixing the leak is against EPA rules for systems over a certain charge size, and it simply sets up another failure. A technician checks both pressure and superheat / subcooling, locates the leak, and makes the repair. Homeowners sometimes ask about topping off refrigerant, which is topping off the cooling fluid your AC needs to run. The right answer in San Jose’s mild climate is almost always to find and fix the leak instead.
2. Electrical Connection Inspection and Torque
Loose connections cause heat, and heat causes failures. A technician checks lugs, contactors, capacitors, and wiring for looseness, corrosion, or burning. This is dangerous work: the capacitor stores enough charge to injure, and the line voltage can be lethal. We do not recommend opening the electrical panel yourself under any circumstances.
3. Capacitor Testing
Capacitors are the most common electrical failure in San Jose systems, partly because our systems cycle on and off more than systems in constantly hot climates. A technician tests microfarad readings against the capacitor’s rating. A weak capacitor often works until it doesn’t, and the failure happens on a hot afternoon. Replacing one proactively is cheap insurance. The part itself typically runs $15 to $45, with total replacement including labor usually between $150 and $300 depending on the system.
4. Condensate Drain Deep Cleaning
If the wet-vac trick doesn’t clear the line, or if you’re seeing repeated clogs, a technician can clear the line with nitrogen, compressed air, or a drain snake, and inspect the pan and float switch for damage. San Jose’s summer algae is persistent, and some homes benefit from an annual professional cleaning of the trap and pan in addition to homeowner-level clearing.
5. Evaporator and Condensing Coil Cleaning
A dirty evaporator coil, the indoor coil, reduces efficiency and can freeze. A dirty condensing coil outside raises head pressure. Both are cleaned with specialized coil cleaners, and sometimes the evaporator requires removal for proper access. This is different from hosing off the outside unit, which you can do. Deep coil cleaning is a technician job.
6. Ductwork Inspection and Leak Testing
Leaky ducts in attics and crawlspaces waste 20 to 30 percent of the air you pay to cool. A technician can inspect visible duct runs, check connections, and in some cases perform a duct blaster test to quantify leakage. Homes in San Jose with ductwork run through unconditioned attics, which is most of them, lose the most efficiency this way. If your home was built before 1990 or has an addition, duct sealing is often the highest-return upgrade available.
Why Mild Bay Area Summers Accelerate Compressor Wear
This is the paragraph most national checklists get wrong. They assume AC systems run long and hard through brutal summers. San Jose systems don’t do that. Our coastal-influenced mild weather often means an AC runs for 20 minutes in the afternoon, shuts off, runs again in the evening, shuts off, and so on. Each start is the hardest moment for a compressor. The starting torque is huge, the inrush current is six to eight times running current, and lubrication hasn’t fully circulated.
In Phoenix or Las Vegas, a compressor might start twice a day and run for six hours each time. In San Jose, the same compressor starts six or eight times on a warm day and runs for 20 minutes per cycle. The total run time is lower, but the number of hard starts is much higher. That’s why compressor failures in San Jose often happen at 10 or 12 years, not the 15 or 18 you’d see in a high-load desert climate. It’s also why capacitators fail more often here. The strain isn’t duration, it’s frequency.
What can you do about it? Three practical things. First, make sure the system is sized reasonably for your home. Grossly oversized systems short-cycle even harder. Second, consider a thermostat with a wider temperature swing, so the system runs longer when it runs. Third, schedule the professional check each spring so weak capacitors are caught before they fail on the worst day. That’s the detail most relevant to homeowners doing a San Jose specific AC maintenance checklist. For more guides & resources, see our blog.
How to Read Your System’s Age and Model Number
Knowing your system’s age and exact model helps you plan for replacement before it becomes an emergency. Here’s how to read the nameplate.
Finding the Data Plate
Every AC has a data plate, usually a metal or plastic tag on the outdoor unit near the service valves, or on the indoor air handler near the filter. The plate lists the manufacturer, the model number, the serial number, and often the manufacture date.
Decoding the Serial Number
Different brands encode the date differently. Carrier and Bryant serial numbers often use four digits in the middle of the string where the first two are the week and the second two are the year. Trane and American Standard often use a letter code or a week and year pair at the end. Lennox uses a similar approach. If the plate itself has a manufacture date printed clearly, trust that first. If not, a quick online search for the brand plus “serial number decoder” works. For example, a Carrier serial beginning with 1612 means week 16 of 2012.
Why the Model Number Matters
The model number tells a technician the system’s tonnage; look for a number divisible by 12 in the string, where 24 is 2 tons, 36 is 3 tons, 48 is 4 tons, and so on. It also identifies the refrigerant type. Older systems run R-22, which was phased out for new production in 2020 and is now expensive and hard to source. If your system uses R-22 and needs a major repair, the replacement conversation becomes urgent.
Rule of Thumb for San Jose
Most AC systems last 10 to 15 years in the Bay Area, with the average repair-or-replace crossover around year 12 to 14. If your system is 10 years old and needs a $1,500 repair, replacement is usually the smarter money, especially with newer efficiency standards and incentives. If it’s 7 years old and needs a $300 capacitor, repair. The exact math depends on the system, and a AC Repair in San Jose technician can walk you through it honestly.
What to Confirm in Writing After Every Maintenance Visit
The difference between a maintenance visit that protects you and one that doesn’t is paperwork. Before any technician leaves your home, make sure you have these items in writing.
- A written list of what was checked. Not a verbal summary. A checklist with each inspected item and the result, whether pass, adjusted, or needs attention.
- Specific findings with measurements. If the technician says the capacitor is weak, ask for the actual microfarad reading and the rated value. If refrigerant is low, ask how many ounces were added and whether a leak test was performed.
- A written price for any recommended work. Before the work starts, not after. The price should be fixed and written. Cold Harbour Heating and Air San Jose follows The Kingswell Way on every visit: say the price before the work, show up in the window given, leave the place cleaner than found, put the guarantee in writing, and come back if it fails.
- The guarantee in writing. Every repair should come with a written guarantee that spells out exactly what is covered and for how long. A verbal promise is worth nothing if the person who made it leaves the company. The strongest guarantees are at least a year. Cold Harbour’s 365-Day Done Right Promise covers every repair for a full year: if the repair fails in that window, the company returns and corrects the work at no additional charge. That promise is written down before the technician leaves.
- Model and serial numbers recorded. Good companies log this on every visit. If yours doesn’t, write it down yourself. It speeds up parts ordering and warranty claims later.
- Photos of any damage or wear. A technician who finds corrosion on a coil or a cracked drain pan should show you the photo. You want your own record in case you get a second opinion.
Repair or Replace: The Math Conversation Coming in 1-3 Years
Every AC dies eventually. The honest conversation is about when, not if. Here’s the framework to use.
The 5,000 Rule
Multiply the age of your system in years by the estimated repair cost. If the result exceeds $5,000, replacement usually makes more sense than repair. A 10 year old system with a $600 repair: 10 times 600 is $6,000, so replacement deserves serious consideration. A 5 year old system with the same repair: 5 times 600 is $3,000, so repair makes sense. This rule is a guideline, not gospel, but it aligns with how we think about the decision in San Jose homes.
The R-22 Factor
If your system uses R-22 refrigerant, every repair carries a hidden cost: the refrigerant itself. R-22 prices have climbed sharply since production ended, and reclaimed supplies keep tightening. Swapping an R-22 system to a new R-410A or A2L system is a bigger upfront cost but eliminates a recurring liability. If your R-22 system needs a compressor or evaporator coil, the replacement conversation is already here.
Efficiency Savings
Current minimum efficiency standards are higher than they were 15 years ago. A new system typically cuts cooling costs by 20 to 30 percent in San Jose’s climate, depending on the old system’s SEER rating and your usage. That’s not enough to justify replacement on its own, but it offsets part of the cost.
Incentives
Federal tax credits for efficient heat pumps and AC systems remain available for qualifying equipment, and local programs in the Bay Area sometimes add rebates. The details change year to year. A reputable contractor should be willing to show you the current incentive paperwork and explain eligibility before you commit. You can also ask about financing: many San Jose homeowners spread the cost over 3 or 5 years at low interest, making the monthly payment comparable to the energy savings. For systems beyond repair, AC Installation in San Jose is the natural next step.
Common Mistakes to Avoid
- Skipping the drain line because it’s “gross.” The wet-vac method takes four minutes and prevents thousands in drywall and flooring damage. San Jose’s summer algae blooms make this the highest-return task on any AC maintenance checklist.
- Changing the filter on a rigid 90-day schedule regardless of season. A filter lasts longer in winter when the system idles and shorter in August when it runs daily. Check monthly during peak use and replace when visibly dirty.
- Leaving the outdoor unit surrounded by plants. Landscaping looks nice, but a coil that can’t breathe runs hot and dies young. Keep two feet of clearance, and trim more aggressively in the summer growing season.
- Ignoring a wet spot near the indoor unit. That’s the early warning sign of a drain problem. Catching it the first week prevents the ceiling stain and the mold call that follows.
- Using a pressure washer on the outdoor coil. Bent fins don’t unbend themselves, and a technician has to comb them out at your expense. Low pressure garden hose only.
- Accepting a verbal guarantee. If the guarantee isn’t written down, it isn’t a guarantee. Ask for it on paper before the technician leaves, and check that it covers at least a full year.
- Waiting until July to schedule maintenance. By mid-June, every good HVAC company in San Jose is booked solid. April is the month to call. The best time to fix a system is before it breaks.
When to Call a Professional
Some signs should never be ignored or DIY’d. A burning smell from the vents, a breaker that trips repeatedly, ice on the indoor coil, a compressor that hums and then shuts off, or water pooling around the indoor unit all indicate problems that require a licensed technician’s diagnostic tools and training. Electrical faults and refrigerant leaks are not homeowner territory, and the dangers are real. Cold Harbour Heating and Air San Jose offers free estimates in San Jose. Call (669) 800-4179 and a live person answers, day or night.
Frequently Asked Questions
Twice a year is the right rhythm for most San Jose homes: once in late spring before peak cooling, and once in September or early October after summer humidity has done its work. Homes in areas with older landscaping or lots of trees may need a third clearing mid-summer. A wet-vac at the access point clears most clogs in under five minutes. If the clog persists or the line backs up repeatedly, call a professional for a deeper cleaning. For help with a stubborn drain line, call (669) 800-4179 and we’ll walk you through it over the phone or schedule a visit.
A standard professional AC maintenance visit in San Jose typically runs $100 to $250 depending on the scope, the accessibility of the equipment, and whether the visit includes a coil cleaning or just an inspection and tune-up. Membership plans that bundle two visits a year often run $180 to $350 annually. Any visit should include a written checklist of what was inspected and measured. Cold Harbour Heating and Air San Jose provides a written price before any work begins, and the 365-Day Done Right Promise covers every repair in writing. Call (669) 800-4179 for the current maintenance pricing.
Yes. A severely clogged filter restricts airflow across the evaporator coil, which eventually causes the coil to freeze into a block of ice. The system can no longer absorb heat, so it stops cooling, and the ice can damage the compressor if the system runs long enough. The fix starts with replacing the filter and letting the coil thaw, but repeated freezing points to an airflow or refrigerant problem that needs a technician. If your filter has been in for six months in a San Jose summer, replace it now.
Most central AC systems in San Jose last 10 to 15 years, with the replacement conversation typically starting around year 12. Our mild climate means fewer total run hours, but the frequent short cycles accelerate wear on compressors and capacitors. Systems near the coast that get salt air exposure sometimes corrode coils faster, and homes in the eastern foothills see more dust and debris in the outdoor coil. Regular maintenance extends life at the margin, but no maintenance makes a 20-year-old system efficient. If you’re wondering whether yours is near the end, call (669) 800-4179 and we’ll give you an honest read on the system’s condition and the math on repair versus replacement.
No. Modern AC units are designed to sit outside uncovered year round, and covering them traps moisture and invites rodents to nest inside. The one exception is a breathable mesh cover designed specifically for condenser units to reduce leaf and debris accumulation, but even that is optional in San Jose’s mild winters. The better winter practice is a quick visual check for storm debris and a 10 minute test run on a warm afternoon. If you notice anything unusual, a Furnace Repair in San Jose technician can check the full system during a service visit.
The 365-Day Done Right Promise is a written guarantee issued on every repair performed by Cold Harbour Heating and Air San Jose. It states that if a covered repair fails within 365 days of the service date, the company returns and corrects the work at no additional charge. The guarantee is provided in writing before the technician leaves the property, not described verbally after the fact. Homeowners should ask any HVAC company what written guarantee comes with a repair, how long it lasts, and what exactly is covered. If the answer is vague, that’s your signal to keep looking.
The Bottom Line
A San Jose AC maintenance checklist should be built around the city’s real climate: mild but humid summers, frequent short cycling, and coastal influences that show up as coil corrosion and drain line algae. The homeowner tasks are filter replacement, drain line clearing, thermostat checks, outdoor unit clearance, and register airflow tests. The professional tasks are refrigerant handling, electrical inspection, capacitor testing, deep drain cleaning, coil cleaning, and duct testing. The paperwork matters as much as the labor: written prices before work, written guarantees after work, and written documentation of everything in between. If you’re in San Jose and want a maintenance visit or an honest system evaluation, call (669) 800-4179.
Written by Victor Mancini, Owner at Cold Harbour Heating and Air San Jose, serving San Jose since 2003.
See the difference
 Before
 After
After Before
 After
After Before
 After
After